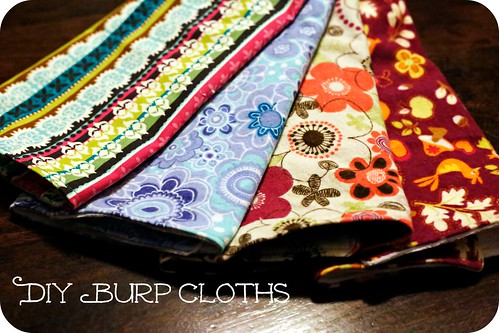
Spit happens, right? It never ceases to amaze me that such tiny and adorable little humans can be so…well…I’ll say it…down right disgusting! They really have that characteristic covered quite well…along with the person holding them… I was fortunate with two of my three kiddos, that they weren’t very urpy. Life was pretty clean with them! It was great! Then, I had my youngest son…he was basically a fountain…a smiling, happy little goo fountain. Yuck.
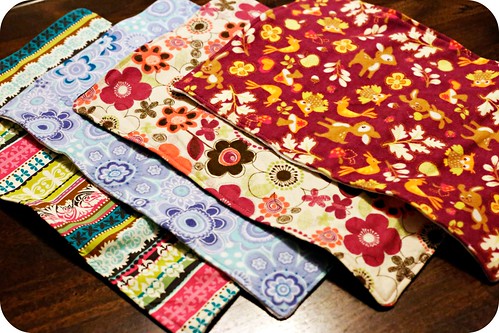
Since my score is two out of three for urpy babies, I’m preparing myself in case baby number four evens our playing field in more than just the gender category. That’s why today, I am preparing for this baby by stitching up a stockpile of burp cloths! If nothing else, we will be well prepared to spit up in style! Check out this simple tutorial. These burp cloths are cute, functional, and make a great handmade shower gift. Give it a try, and let me know what you think! Happy sewing!
Supplies…
- sewing machine
- fabric scissors or rotary tool
- straight pins
- fabric
- coordinating thread
The how to…
- Cut your fabric. Decide if you are going to be using two layers, or adding in a third layer for extra absorbancy. You can choose your own dimensions, but I like to cut my fabric 9″ x 16.” This gives a finished burp cloth that is not too big, yet not too small…in my opinion.
- Place your fabrics right sides together. If you are using three layers, you will want to make a fabric sandwich with your front and back fabrics right sides together, and your extra layer on top. Don’t worry about the extra layer being right or wrong side up, it will end up in the middle when you turn your burp cloth, and won’t matter, anyway.
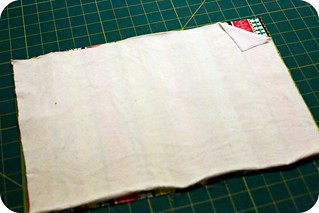
- To pin or not to pin… I have been sewing for many, many years, and seldom pin my projects to save time. If you are a beginner seamstress or simply prefer to pin your fabric together, by all means, pin away!
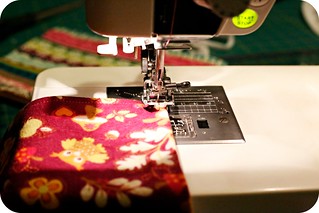
- Using approximately a 3/8″ seam, start sewing your burp cloths, starting in the middle of one of the ends. Be sure to backstitch to secure your thread. Sew around your fabric, leaving your needle in the down position, and pivoting at the corners. Leave about a 1-1 1/2″ opening through which you will turn your burp cloth. Backstitch to secure your thread.
- Clip your corners… Trim away extra fabric, but be careful not to cut your thread.
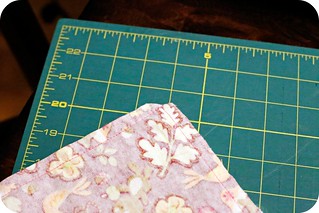
- Turn your burp cloths.
- Iron. If you are using minky fabric, be very careful that your iron is not too hot. Minky fabric doesn’t play well with irons.
- Top stitch around your burp cloths. This gives your projects a professionally finished look, and also close the hole you used to turn your fabric.
Ta-da! Now you have some super cute and functional burp cloths! Go find a baby to test those beauties out on! Or, if you’re like me, stash them away as you wait just a bit longer for your sweet one to arrive!
Are you expecting a baby soon or know someone who is and would appreciate some handmade burp cloths?



Laura J
February 8, 2016 at 11:07 pmOh what a neat idea to make our own! They are so cute! I just got a sewing machine for Christmas…I am going to have to try to make some!
Sarah Hayes
February 8, 2016 at 8:52 pmId love to make these for a friend. they would make a great gift and look fairly easy
Sarah
February 10, 2016 at 10:29 amYes! They really are quite easy! And, they make a great gift!
Raina DelRio
February 7, 2016 at 8:04 amThese are adorable. I know of a few people that could use these, so I am going to definitely put this tutorial to use!
Sarah
February 10, 2016 at 10:30 amGreat! I’m glad you like it! Happy sewing!
Maryann D.
February 6, 2016 at 9:30 amThese burp cloths are lovely. I wish I did this when my kids were babies, I needed a lot of them!
Sarah
February 6, 2016 at 10:39 amThank you! I’m hoping I don’t need too many this time around, but at least we will be prepared! And, somehow cute burp cloths make spitting up just a little bit better! 🙂