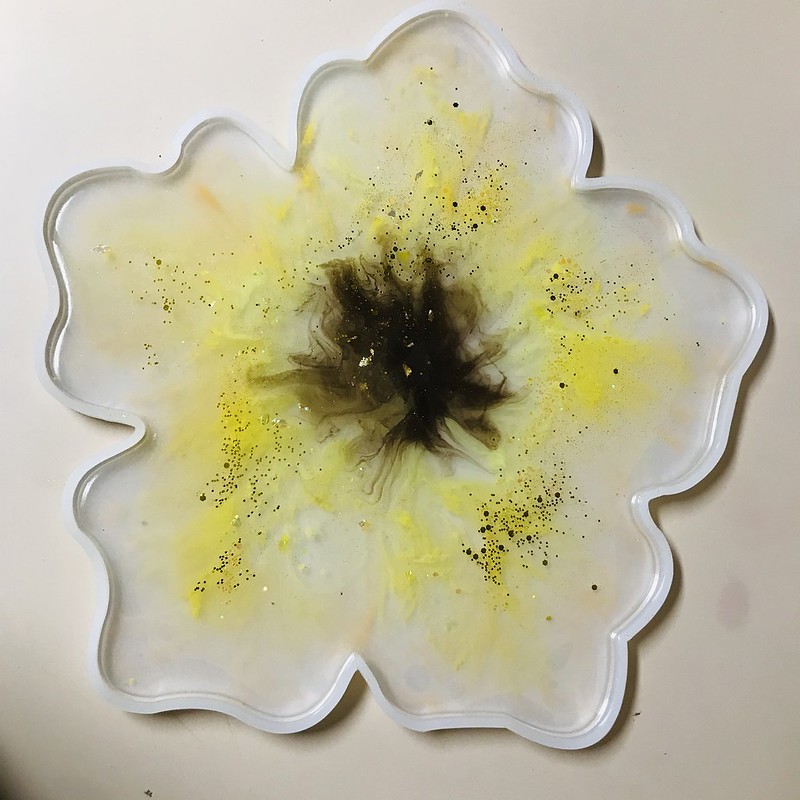
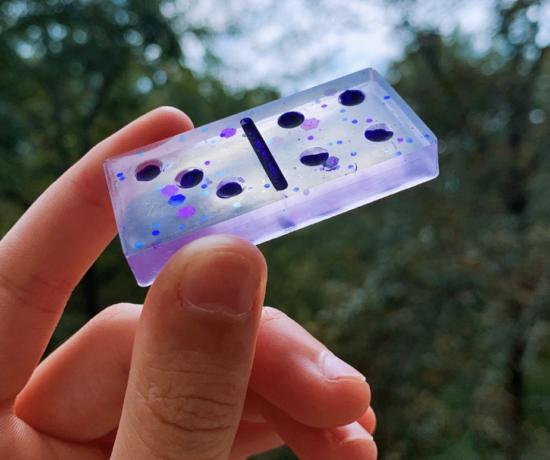
I have become a huge fan of Let’s Resin’s Silicone Molds! The week before last I shared their Domino Silicone Mold and last week I tried their Silicone Flower Mold for the coasters only. This week I am sharing their Flower Tray Mold. I used the same process I did with the coaster only a ton of more resin. This simple DIY :: Resin Flower Tray is so simple a beginner can use it. This time I used less pigment to get a more transparent effect, which is what I was aiming for when I made the coasters.
Package Included:
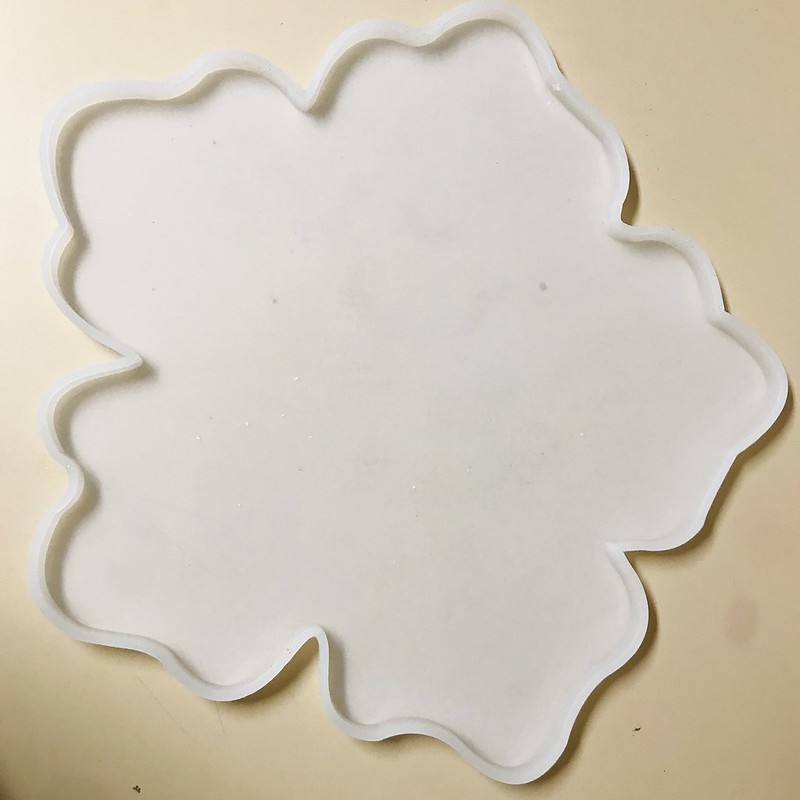
1 x Large Flower Tray Molds
2 X Small Flower Resin Molds
A pair of golden handles
STEP 1 :: I rinsed my mold with water before I began pouring resin to make sure the mold was few of dust.
STEP 2 :: Next I measured out equal amounts of Part A and B resin. I combined the mixtures and stirred the resin.
STEP 3 :: I poured the resin into the mold then separated the remaining resin into three small disposable cups.
STEP 4 :: Once all the cups had resin I distributed the colored pigment into the cups. A brown for the center, light yellow, yellow, dark yellow and orange. I also used Let’s Resin’s Gold Leaf and glitter to give the coaster some shimmer.
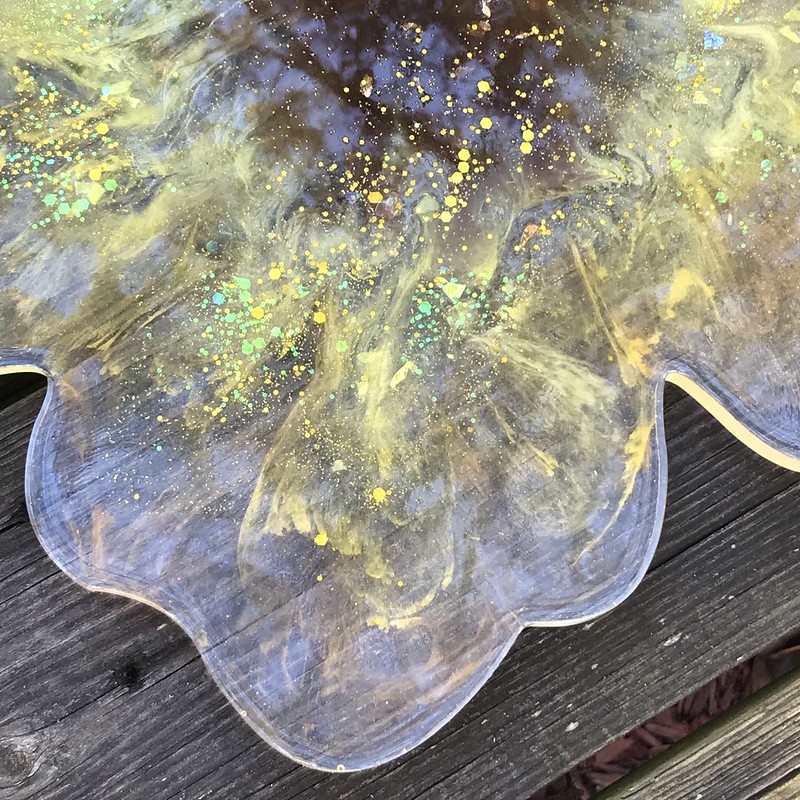
Now all you have to do is wait for it to harden to be able to take it out of the mold. Once you are finished with your mold wash it with mild soap and warm water. I love the transparent effect that I got this time. No I have to decide if I will use them together or if I will make two sets demonstrating both effects transparent or opaque. I will save the handles for another tray when I decide on a set.
Do you think these work well as a set or do I need to keep it one way or the other?
connect with Let’s Resin ::
Official Website | Facebook | Instagram | Pinterest





Amanda Blankenship
November 5, 2020 at 4:09 pmLove how yours turned out!!! I recently purchased it as well and have been meaning to create something. How much resin approximately in ounces did you have to mix for this large piece?