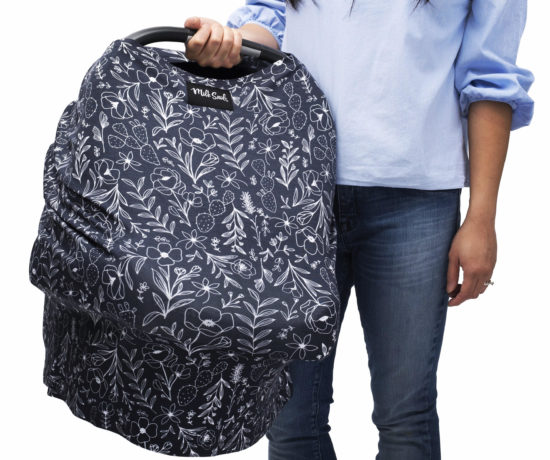
Yesterday, I picked up the infant car seat that we will be using for baby #4. Something about having the car seat ready and waiting, takes the whole baby gig to a whole new level of reality! Maybe it’s just me, but as soon as the car seat was ready and in place for each of my children, it was pretty much a signal for game on! Things just got very real over here, friends!
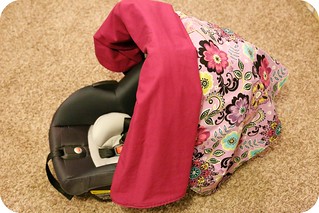
Since the car seat is all ready to go, I figured now would be a great time to make a car seat canopy. If there is one thing you want to protect your baby from while out in public, it is overbearing strangers, who can’t seem to keep their hands off of sweet little babies. I know these people generally have well intentions, but who really wants a stranger all up in their newborn baby’s business, right? That’s where a car seat canopy comes in quite useful! It’s almost like a barrier between your baby and the world. Brilliant!
The thing about car seat canopies, is that they generally come in one size, yet car seats tend to vary in size. That’s why I decided to make mine up as I went along. Follow along with this tutorial, and you can also make a canopy that fits your car seat perfectly! With some quick measurements, a car seat canopy is really quite easy to whip up. I made mine in under two hours, while watching TV. Gilmore Girls reruns, anyone?
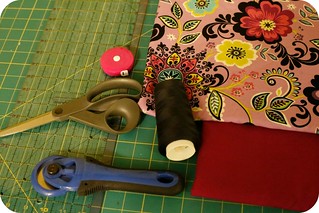
What you need…
- fabric for front and back (measuring will let you know exactly how much fabric you will need, but my canopy took approximately 1.5 yards each of my two fabric choices)
- coordinating thread
- iron
- sewing machine
- fabric scissors and/or rotary cutter and mat
- measuring tape
- velcro
The how-to…
- Pre-wash your fabric. It is very tempting to skip this step, but preparing your fabric by preshrinking it will prevent it from uneven shrinking in future washes.
- Iron your fabric.
- With the existing canopy up on your car seat, measure the distance from a couple inches above the ground on the back of your car seat to a couple inches above the ground on the front of the car seat. Add an inch to compensate for your seam allowance. Measure across and over the existing canopy on your car seat at its widest part, this will be your width measurement for your fabric. Add an inch to compensate for your seam allowance.
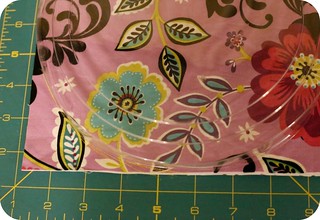
- Cut your fabric. You will have a large rectangle to start with. Round your corners. It is easiest to use something for a template. I used a top to a large canister, but plates also work well for this. My car seat is much narrower in the front, so I also decided to angle the front of the canopy in so it wouldn’t drag on the ground.
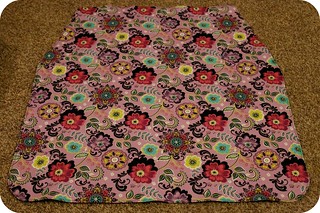
- With right sides together, sew around the perimeter of your fabric, using a 3/8″ seam. Be sure to back stitch when you start and stop sewing, and leave about a five inch opening through which you will turn your fabric.
- Turn your fabric right side out. Iron around the edge.
- Top stitch around the perimeter of the canopy, closing the gap you left for turning your fabric.
- Cut your fabric for your straps. You will need four pieces, each measuring 10.5″ x 3.5″.
- With right sides together, sew around the perimeter of your straps, using a 1/4″ seam allowance. Be sure to back stitch when you start and stop sewing, and leave about a two inch opening on one of the long sides, through which you will turn your fabric.
- Clip your corners, and turn your straps right side out.
- Iron the straps.
- Top stitch around the perimeter of the straps, using a 1/4″ seam allowance.
- Sew your velcro to the straps. The hook will go on one side, and the loop will go on the other side at the opposite end of the strap.
- Decide on placement of your straps on the canopy. Pin them in place, and sew them to the canopy body.
- Put your canopy on your car seat, admire your handiwork, and get ready to take your baby shopping!

When preparing for baby, how soon before your due date do you install your car seat in your car?

