- 1/4 inch plywood
- Black and white acrylic paint
- Twine
- Drill
- Drill bit
- Sander
- Band Saw
- Scissors
- 3″ Ribbon
- Hot Glue Gun and glue sticks
Step 1:: First you will need to cut your 1/4 inch plywood. I used scraps and mine were approximately 9X5 inches {Merry} and 13×5 inches {Christmas}. Then sand any rough edges that you have on your plywood pieces.
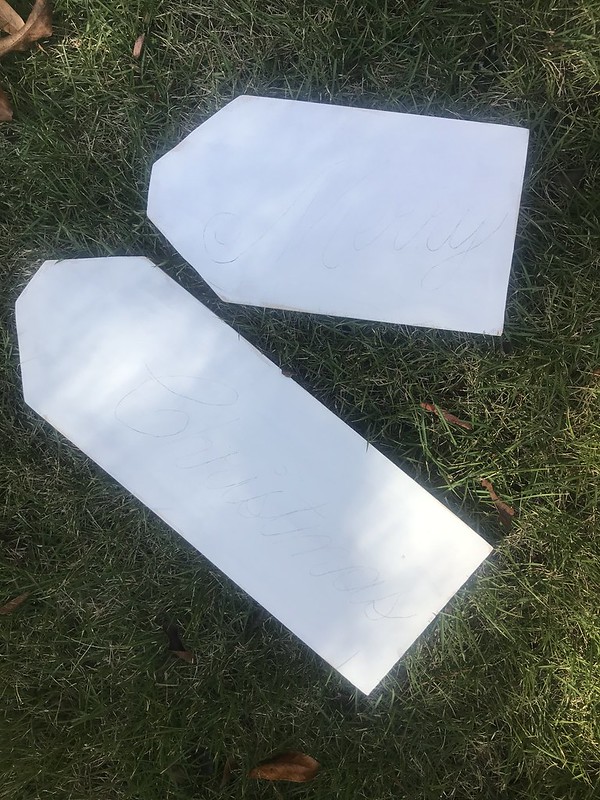
Step 2:: Once your wood has been sanded, paint them white. When the white paint dries lightly sketch your lines in pencil how you want your words to look.
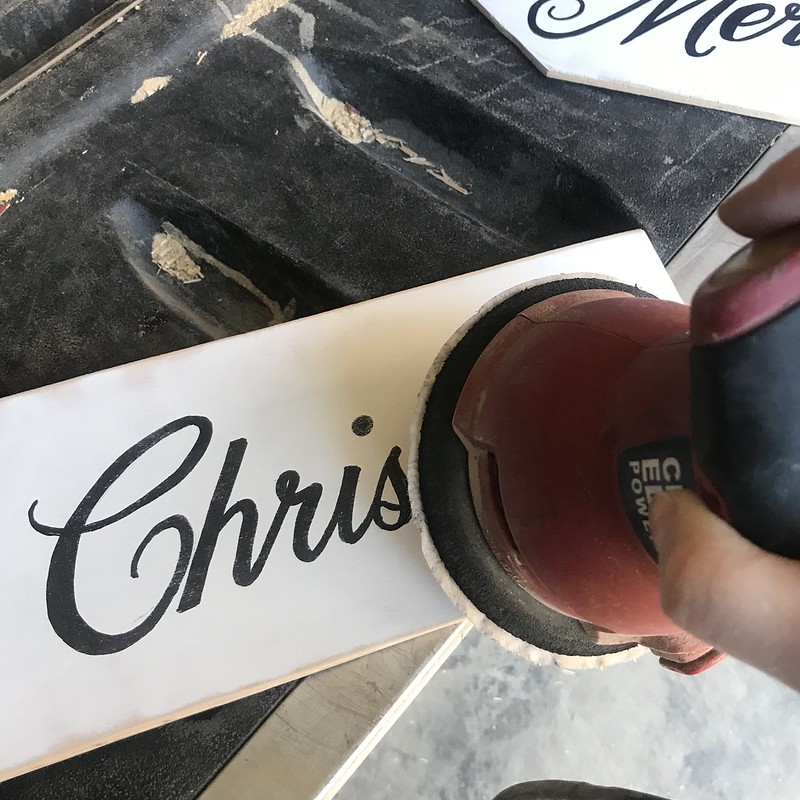
Step 3:: Now you can paint your letters to create your Merry Christmas tags. After I painted mine I used a sander to create a rustic look.
Step 4:: Now that you are finished drill your holes for your twine and tie your tags however you would like them to hang. I chose to have “Merry” hang over “Christmas” you can even hot glue them to keep them from moving in the wind.
Step 5:: I left just enough twine to have the Merry Christmas Tags to hang at the perfect height to be seen when someone approaches the door.
Step 6:: Once your hot glue dries you can add your bow to finish off your DIY Merry Christmas Tags Door Hanger! If you like this DIY make sure to check out the one I did for a dear friend of mine in a nursing home a simple DIY Christmas Tag.
Would you hang this door hanger on your door?






Christie Roberts
January 15, 2020 at 8:26 pmThis is so cute! I made need some practice on my cute lettering skills but this is fun alternative to a regular wreath on the door!
Dolores Miranda
December 30, 2019 at 3:39 pmThis is so awesome! I pinned this to make for next year!!
Theresa
December 20, 2019 at 9:02 amI would love to have one for my door! Thanks for sharing I have to try this DIY!!