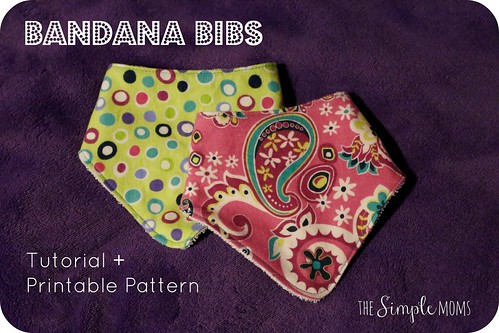
Baby will be here in less than seven weeks, and I must say that I’m feeling quite accomplished in my preparation for her arrival. We’ve made this little girl many beautiful creations, and only have a few more projects left to go before she is here! On one hand, the time seems to still drag on, but on the other hand, I can’t believe that we are in single digits when counting the number of weeks we have to go in this pregnancy. One thing is for certain, though, we haven’t even met her, and already, she is so very loved!
This week, my focus has been on stocking up on some bibs for this wee little one. Though I’m hoping this child is not a spitter, I would much rather be over prepared for what could be, rather than trying to figure something out on very little sleep after she gets here. So, bib making it is!
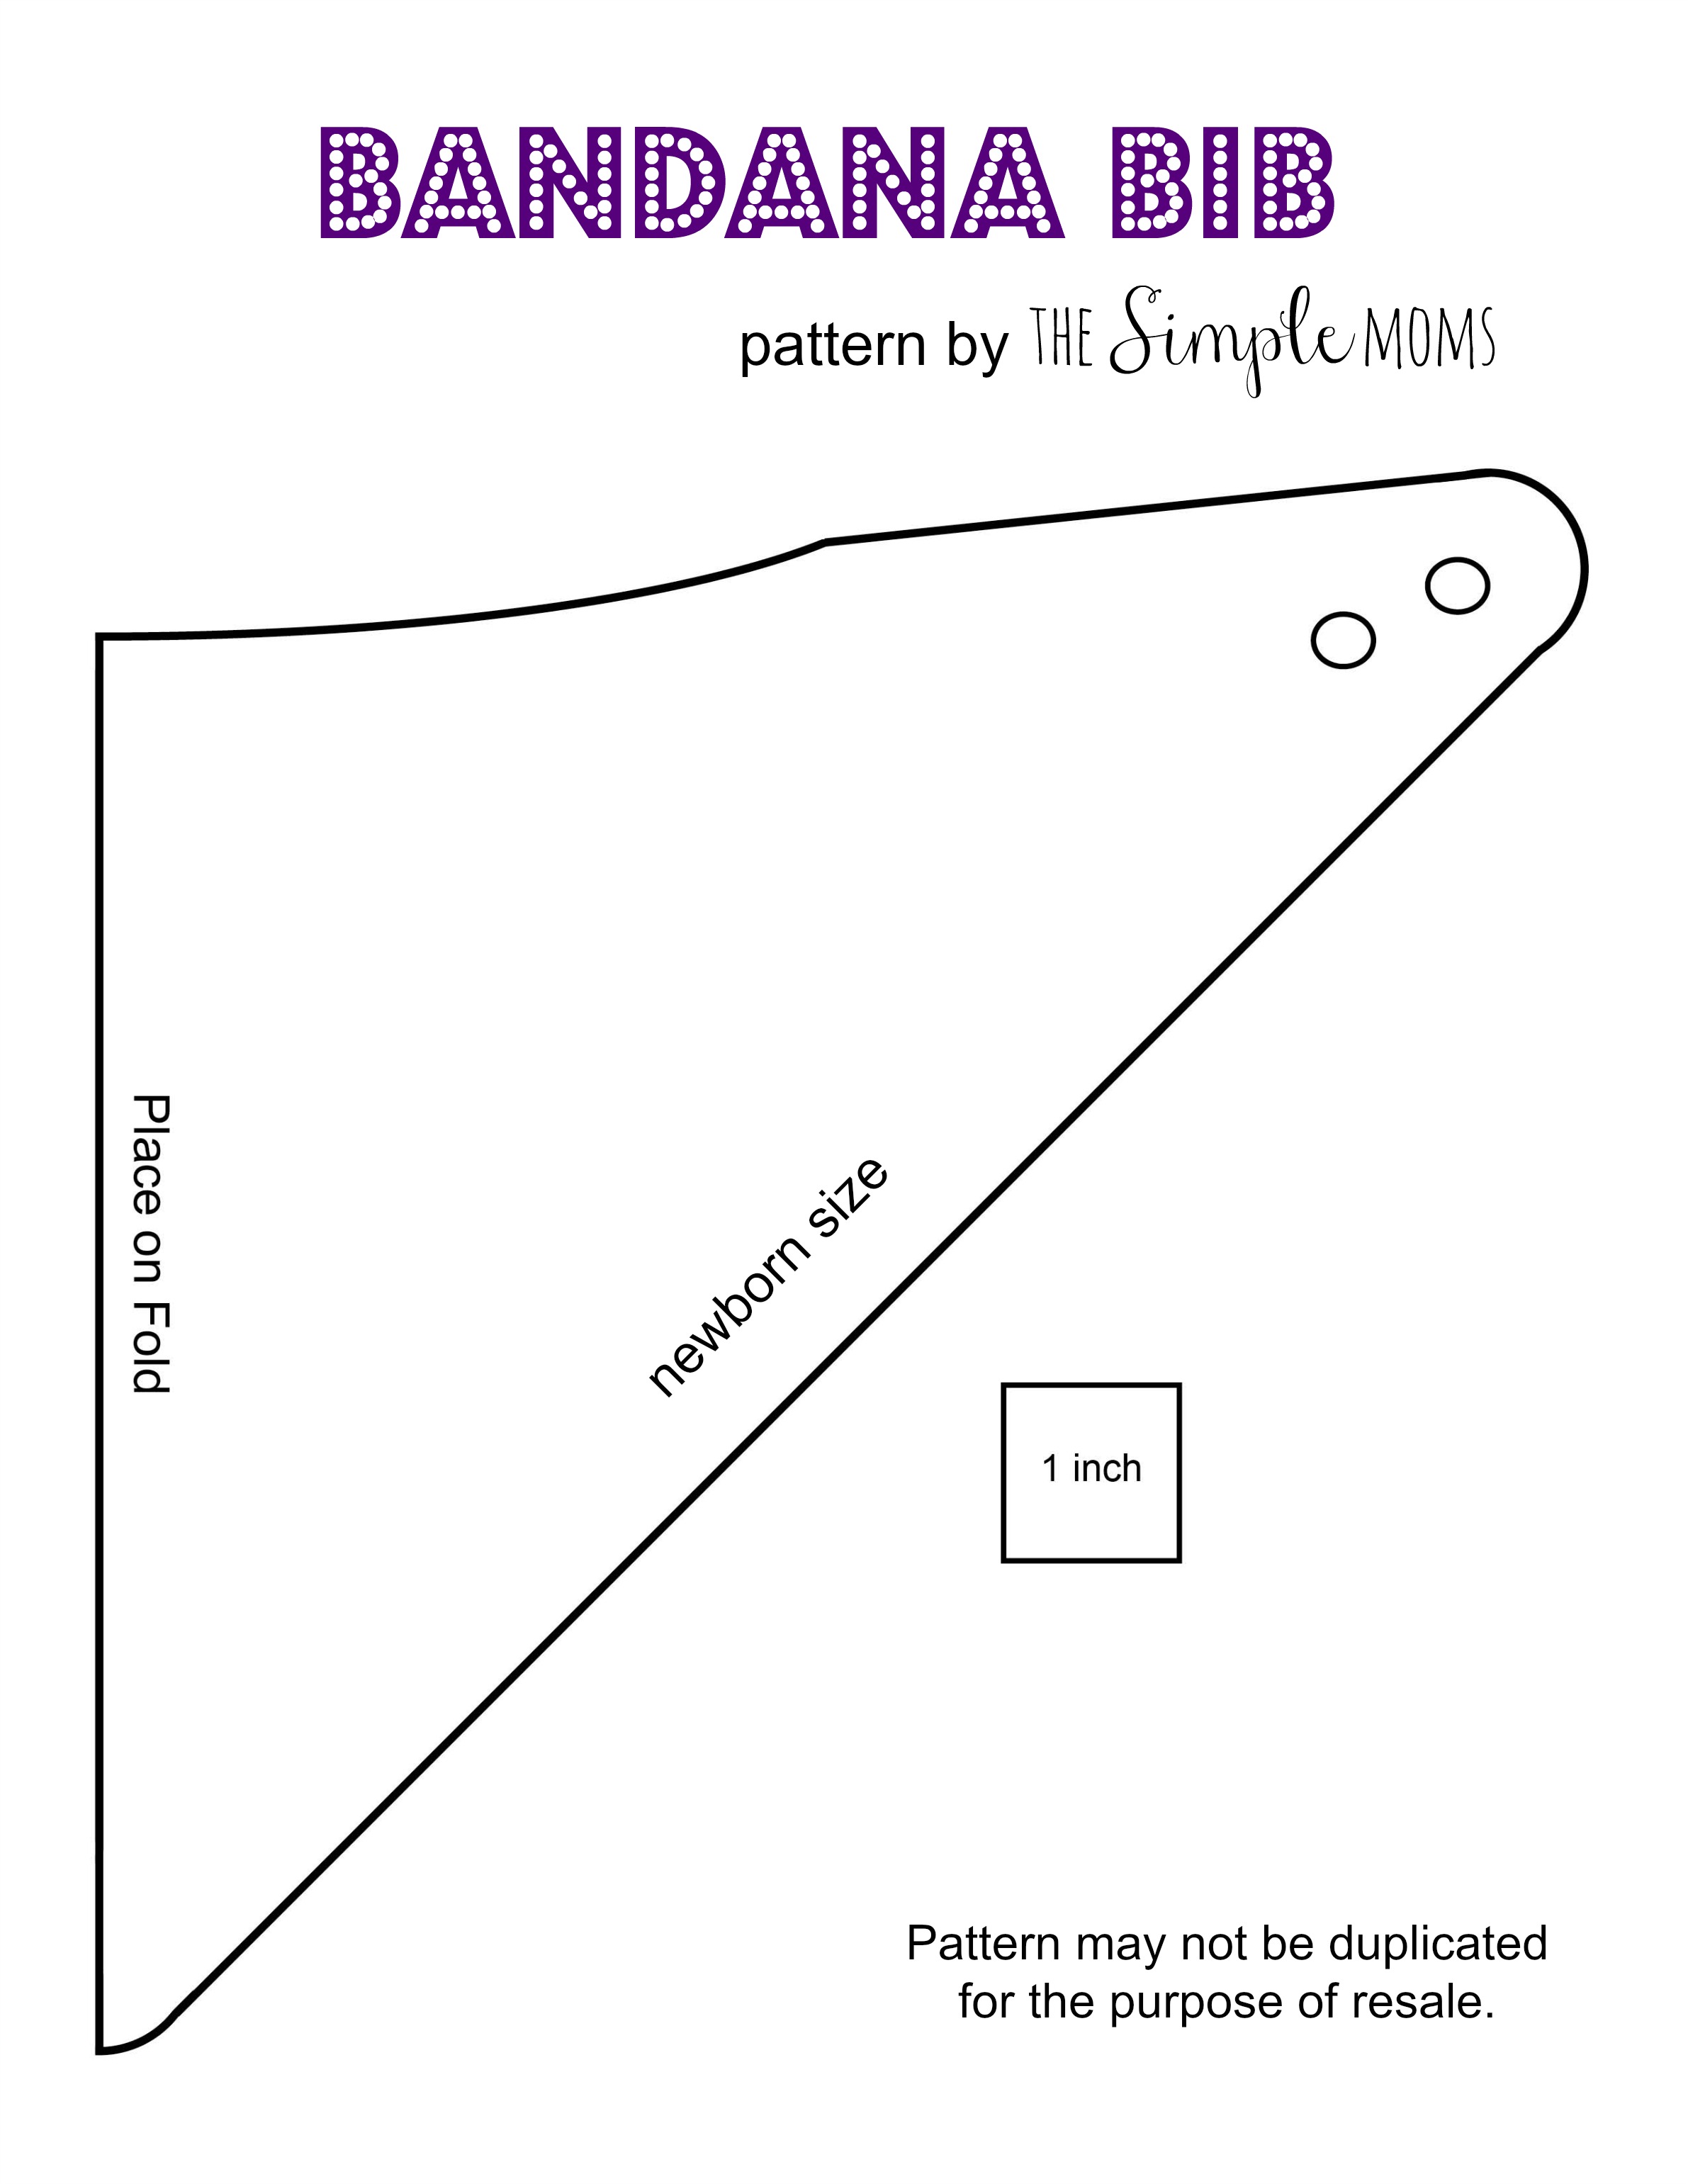
Have you noticed all of the super trendy bandana style bibs that babies are wearing these days! Adorable! There are plenty of free patterns floating around on the internet that can be used to make these purposeful accessories. However, I wanted to make some bibs in a smaller size, just right for a newborn, so I created my own pattern. Feel free to use it if you would like. Just know that it is meant to be for a small baby. If you would like to make these bibs for an older baby or toddler, simply enlarge the image in your print settings, or when cutting the pattern out, cut it a bit wider. Happy sewing!
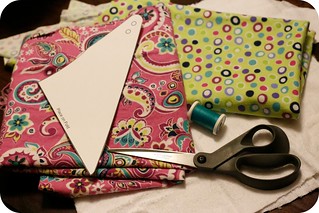
Supplies…
- sewing machine
- fabric scissors
- iron
- absorbent fabric – cotton, flannel, terry cloth, etc.
- coordinating thread
- snaps or velcro
- printable pattern
The how to…
- Prepare your fabric. Always wash and dry new fabric. This will ensure your fabric does any shrinking before sewing it.
- Iron your fabric. Prep your fabric with an iron so when you cut your bib pieces, you will get crisp lines to work with.
- Print pattern, or make your own.
- Place pattern on the fold, and cut your bib pieces out.
- Place your fabric right sides together. You can pin your pieces together, but this is such a small project, that it probably isn’t necessary, unless you are working with fabric, such as minky, that wants to slip.
- With approximately 1/4″ seam, sew around the perimeter of your bib pieces, leaving about a two inch opening where you will turn your fabric. Be sure to backstitch to secure your thread.
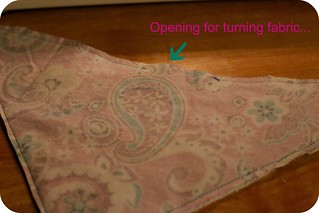
- Trim excess fabric, being careful not to clip your thread.
- Turn bib right side out.
- Iron bib, paying attention to the edges.
- Top stitch around your bib. This will give your bib stability, as well as a more professionally finished look, and closes the opening you used to turn your project.
- Finally, add snaps or velcro to the back of the bib.
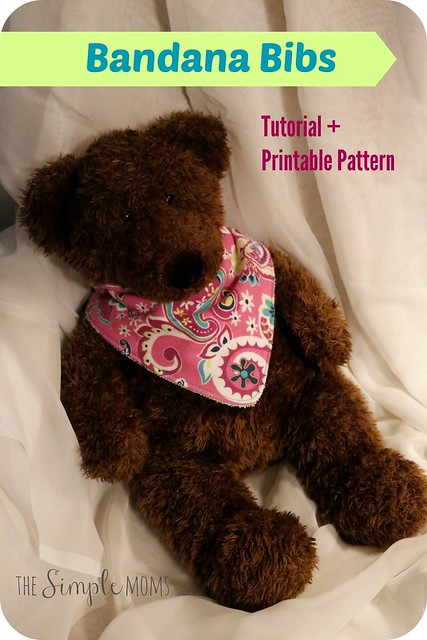
What do you think of bandana bibs? Are they around to stay, or just another passing fad?


Brenda
August 6, 2016 at 9:23 amHow do I print this pattern?
Jaime
August 8, 2016 at 8:03 amHI Brenda, You should be able to right click and save it and then print it. =) Let me know if that doesn’t work for you. Jaime
Judy
April 5, 2016 at 7:26 amMy new grandson is a spit-up king, so bibs save lots of clothing changes. This bib patter will be great for using with him. Thank you!!
Dagmar M
February 27, 2016 at 8:45 pmI love these bibs!! Thanks for the pattern
Sarah
March 5, 2016 at 2:06 amYou are very welcome! I’m glad you like them!